Standalone installation
This guide explains how to setup your own SnailyCADv4 instance without Docker.
Requirements
All the items listed below are required to get SnailyCADv4 up and running smoothly.
- Git (Windows Guide) (Linux Guide)
- Node.js (22.18.x is supported.) (Windows Guide) (Linux Guide)
- pnpm (Windows Guide) (Linux Guide)
- PostgreSQL (version 15 or higher) (Video Guide) (Linux Guide)
Getting Started
Once you've got all the items installed, we can get started with installing SnailyCADv4. Open the Command Prompt on Windows or the Terminal on Linux.
1. Cloning the GitHub repository
Warning: Do not install SnailyCADv4 in the root folder. Install it in your Documents folder on Windows or home folder on Linux.
To fix this, run the following command:
Windows
cd Documents
Linux
cd /home/$(whoami)
Firstly, we need to clone the GitHub repository to our local machine:
git clone https://github.com/SnailyCAD/snaily-cadv4.git
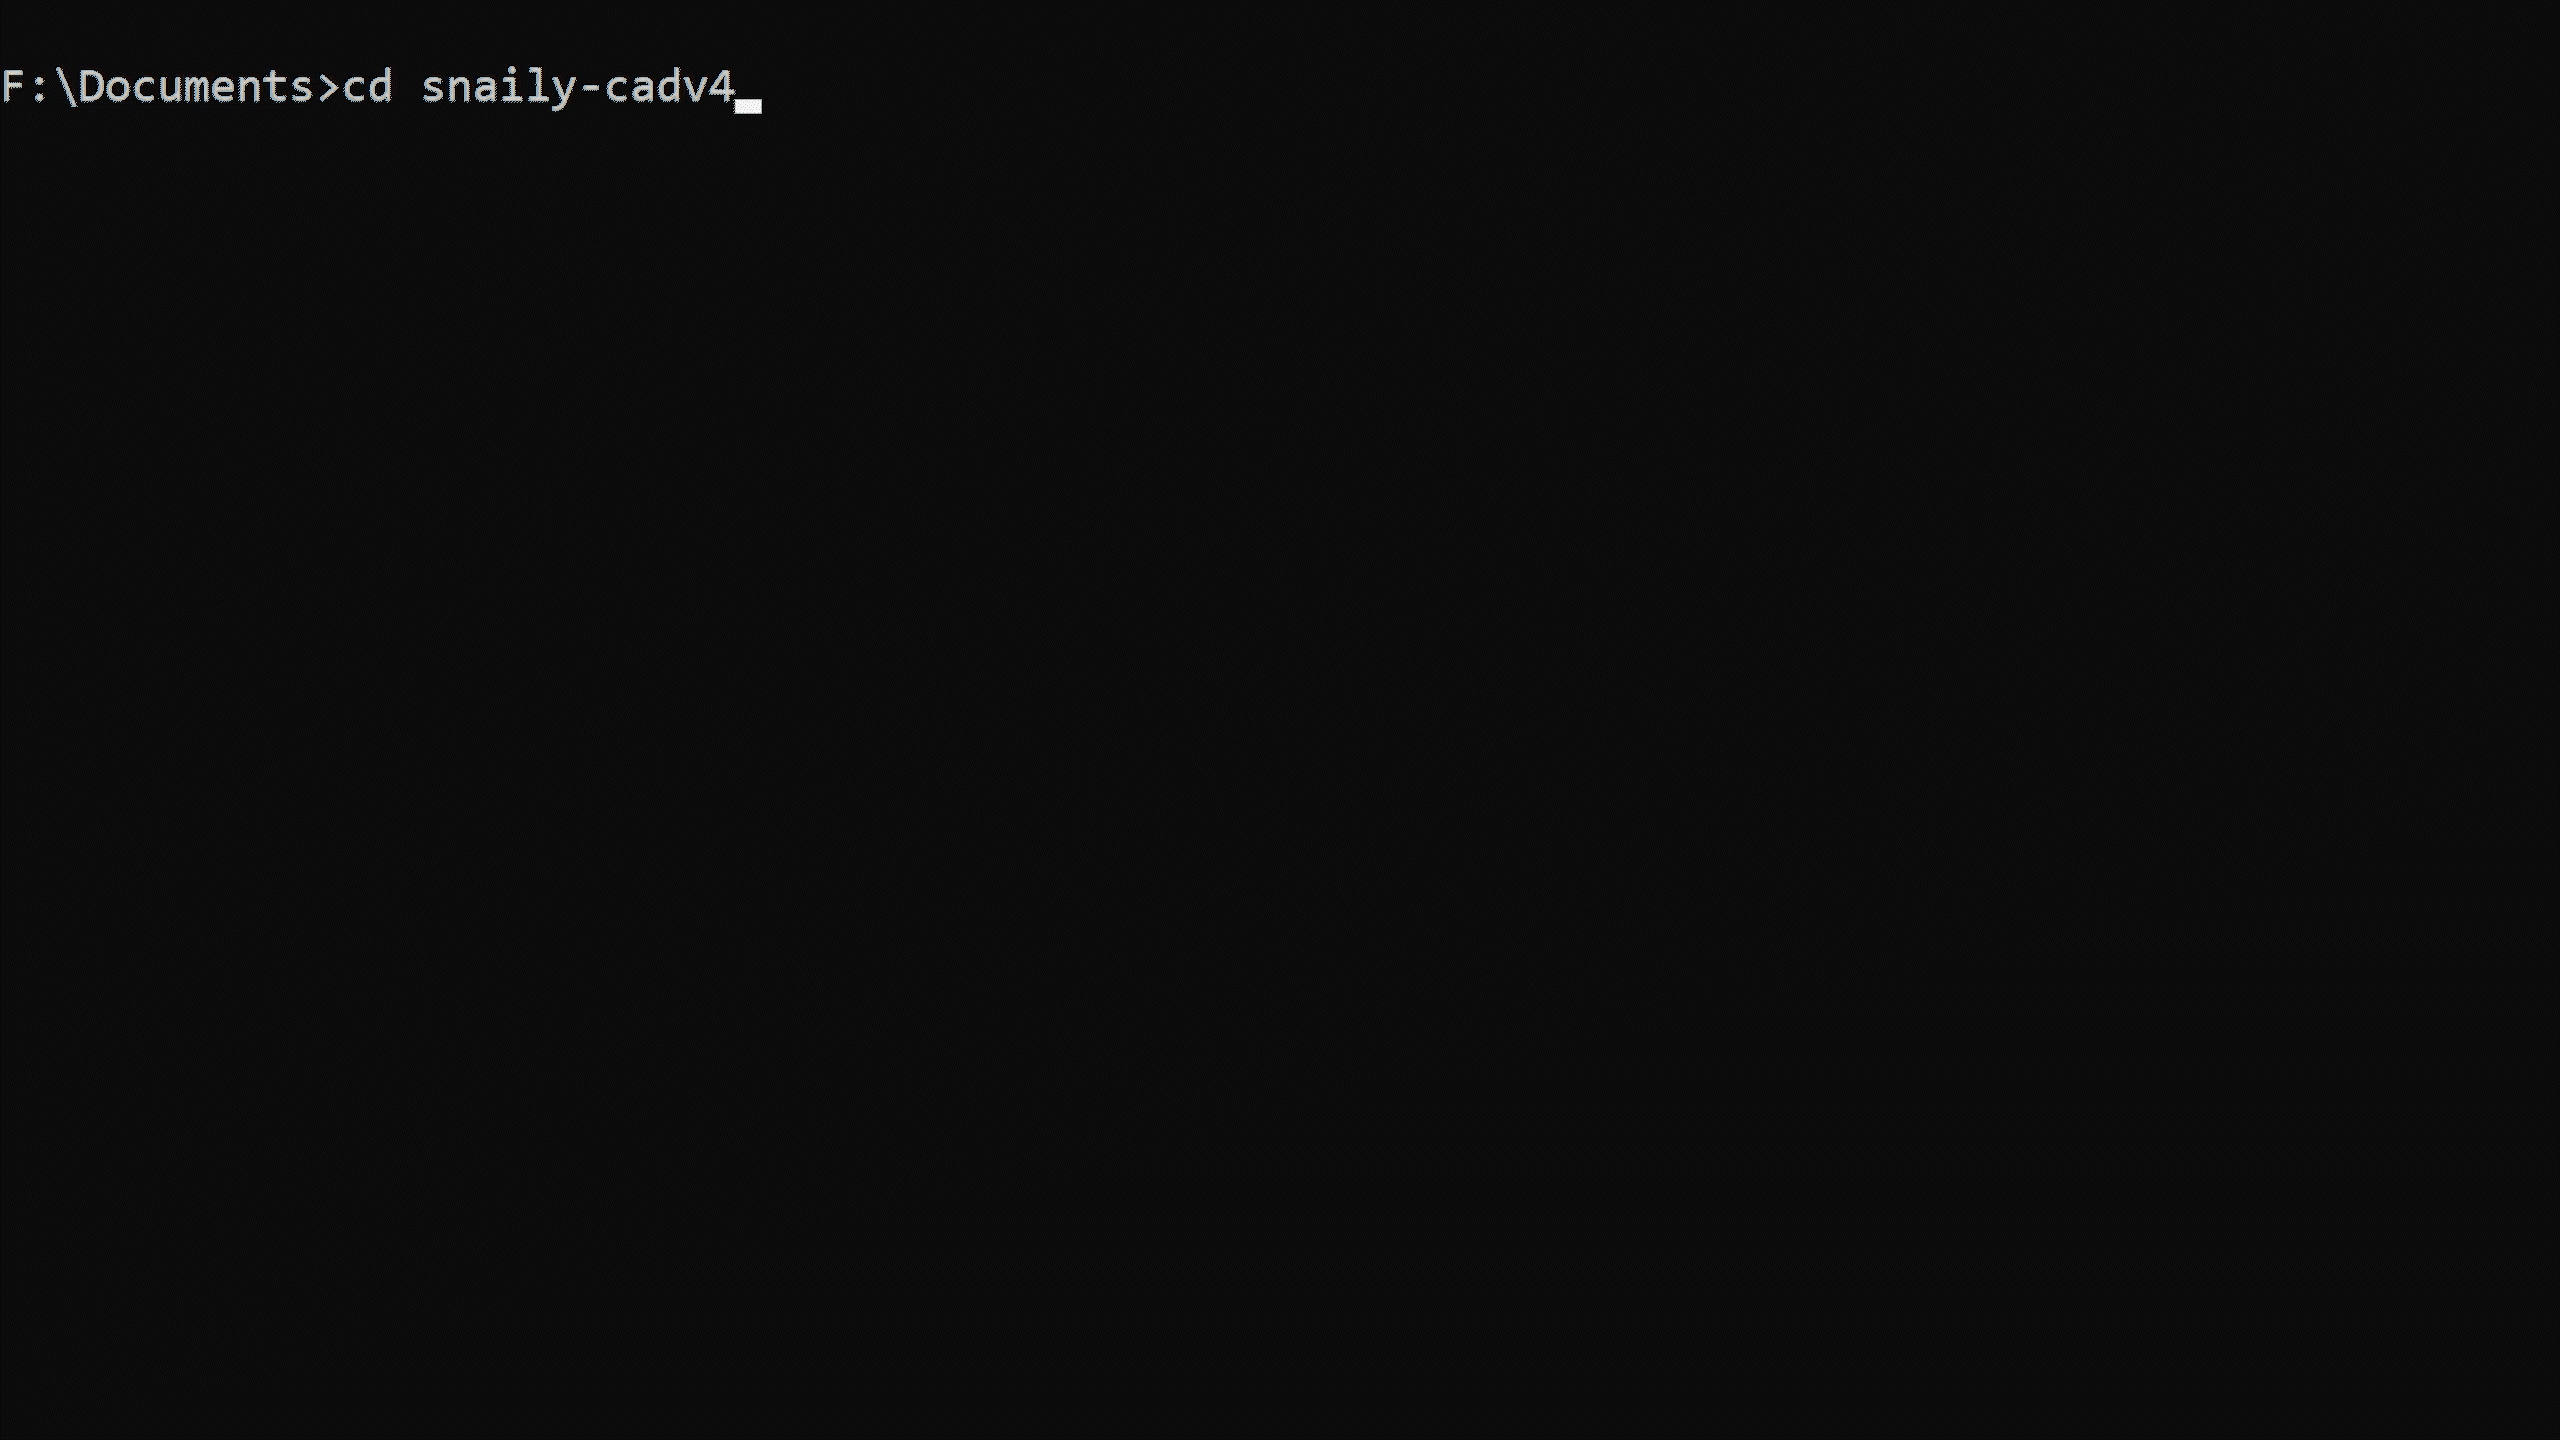
Once the files have been cloned from GitHub, we can enter that folder:
cd snaily-cadv4
2. Installing dependencies
Now we will install the dependencies that are required for SnailyCADv4 to function properly.
pnpm install
3. Configuration
Configuration can be a bit complicated, so pay close attention. The following steps will help you configure SnailyCADv4's environment variables. These variables are used by SnailyCADv4 to connect to the database and store special tokens used for SnailyCAD's features.
In the support channels, this will be referenced as the ".env file" or "ENV".
We must first copy the .env.example file to .env:
Windows:
copy .env.example .env
Linux:
cp .env.example .env
Now we can start configuring the variables in the .env file. See next step 3.1 .env file.
3.1 .env info
WARNING: Please, do not edit apps/client/.env or apps/api/.env directly. Always edit the root .env file.
When changing something in the .env file after the installation process, make sure to run the following steps:
node scripts/copy-env.mjs --client --apipnpm turbo run build --filter=@snailycad/client
POSTGRES_PASSWORD: The password to the PostgreSQL database.POSTGRES_USER: The username to the PostgreSQL database.DB_HOST: The database host. Most likelylocalhostDB_PORT: The port to the database.POSTGRES_DB: The database name.JWT_SECRET: This is a random value to keep the CAD secured.CORS_ORIGIN_URL: The URL/IP to where the CAD is hosted at, e.g.,https://cad.mysite.comorhttp://99.99.00.190:3000.NEXT_PUBLIC_CLIENT_URL: The URL/IP to where the CAD is hosted at. e.g.:https://cad.mysite.comorhttp://99.99.00.190:3000.NEXT_PUBLIC_PROD_ORIGIN: The URL/IP to where the API is hosted at (/v1is required.). e.g.:https://cad-api.mysite.com/v1orhttp://99.99.00.190:8080/v1.PORT_API: The port where the API should run on. (Default 8080)PORT_CLIENT: The port where the client should run on. (Default: 3000)ENCRYPTION_TOKEN: Used to generate encrypted values. Must be 32 characters longDATABASE_URL: Do not change unless you know what you're doing!
Do not use localhost for Accessing SnailyCAD. It will not work!
Please take a few minutes and read the in-depth guide for each environment variable here.
View Example .env file
# Documentation can be found at: https://docs.snailycad.org/docs/installations

# This is the password to the postgress database.
POSTGRES_PASSWORD="Y8CURkTv"

# This is the username to the postgress database.
POSTGRES_USER="postgres"

# The database host - Set as 'postgres' when using docker compose
DB_HOST="localhost"

# The database port - keep port as '5432' when using docker compose
DB_PORT="5432"

# The database name.
POSTGRES_DB="snaily-cad-v4"

# This is a random value to keep the CAD's cookies secured. Make sure to change this!
JWT_SECRET="GxuPM0XmlxvCDX0QfZeqLSo0uvNm3FsEZN56JRZYNSU="

# string of 32 characters long. Make sure to change this!
# Generate one at: https://codebeautify.org/generate-random-string
ENCRYPTION_TOKEN="BOqZR1ycU0zl6vEo64JgZB8BPtjcR7"

# This is the URL/IP to your site where the CAD is hosted.
# -> e.g. https://cad.mysite.com or http://99.99.00.190:3000
CORS_ORIGIN_URL="https://cad.example.com"

# The URL/IP to where the API is hosted.
# -> e.g. https://cad-api.mysite.com/v1 or http://99.99.00.190:8080/v1
NEXT_PUBLIC_PROD_ORIGIN="https://cad-api.example.com/v1"

# only enter this value if you're using a domain!
# domain should only be the domain, NOT including sub-domains
# example: `DOMAIN="example.com"`
DOMAIN="example.com"

# "true" or "false"
# Can only be enabled when having valid SSL (https) and a domain.
SECURE_COOKIES_FOR_IFRAME="false"

# The port of which the API will run on. Default: 8080
# When using Docker, make sure to change this in the `production.docker-compose.yml` file too.
PORT_API=8080

# The port of which the client will run on. Default: 3000
PORT_CLIENT=3000

# Errors get reported to Linear (Project manager). This is done so errors can be fixed faster.
TELEMETRY_ENABLED="true"

# Do not change this.
NODE_ENV="production"

# Do not change this, unless you know what you're doing!
DATABASE_URL=postgresql://${POSTGRES_USER}:${POSTGRES_PASSWORD}@${DB_HOST}:${DB_PORT}/${POSTGRES_DB}?sslmode=prefer
3.2 Moving env file
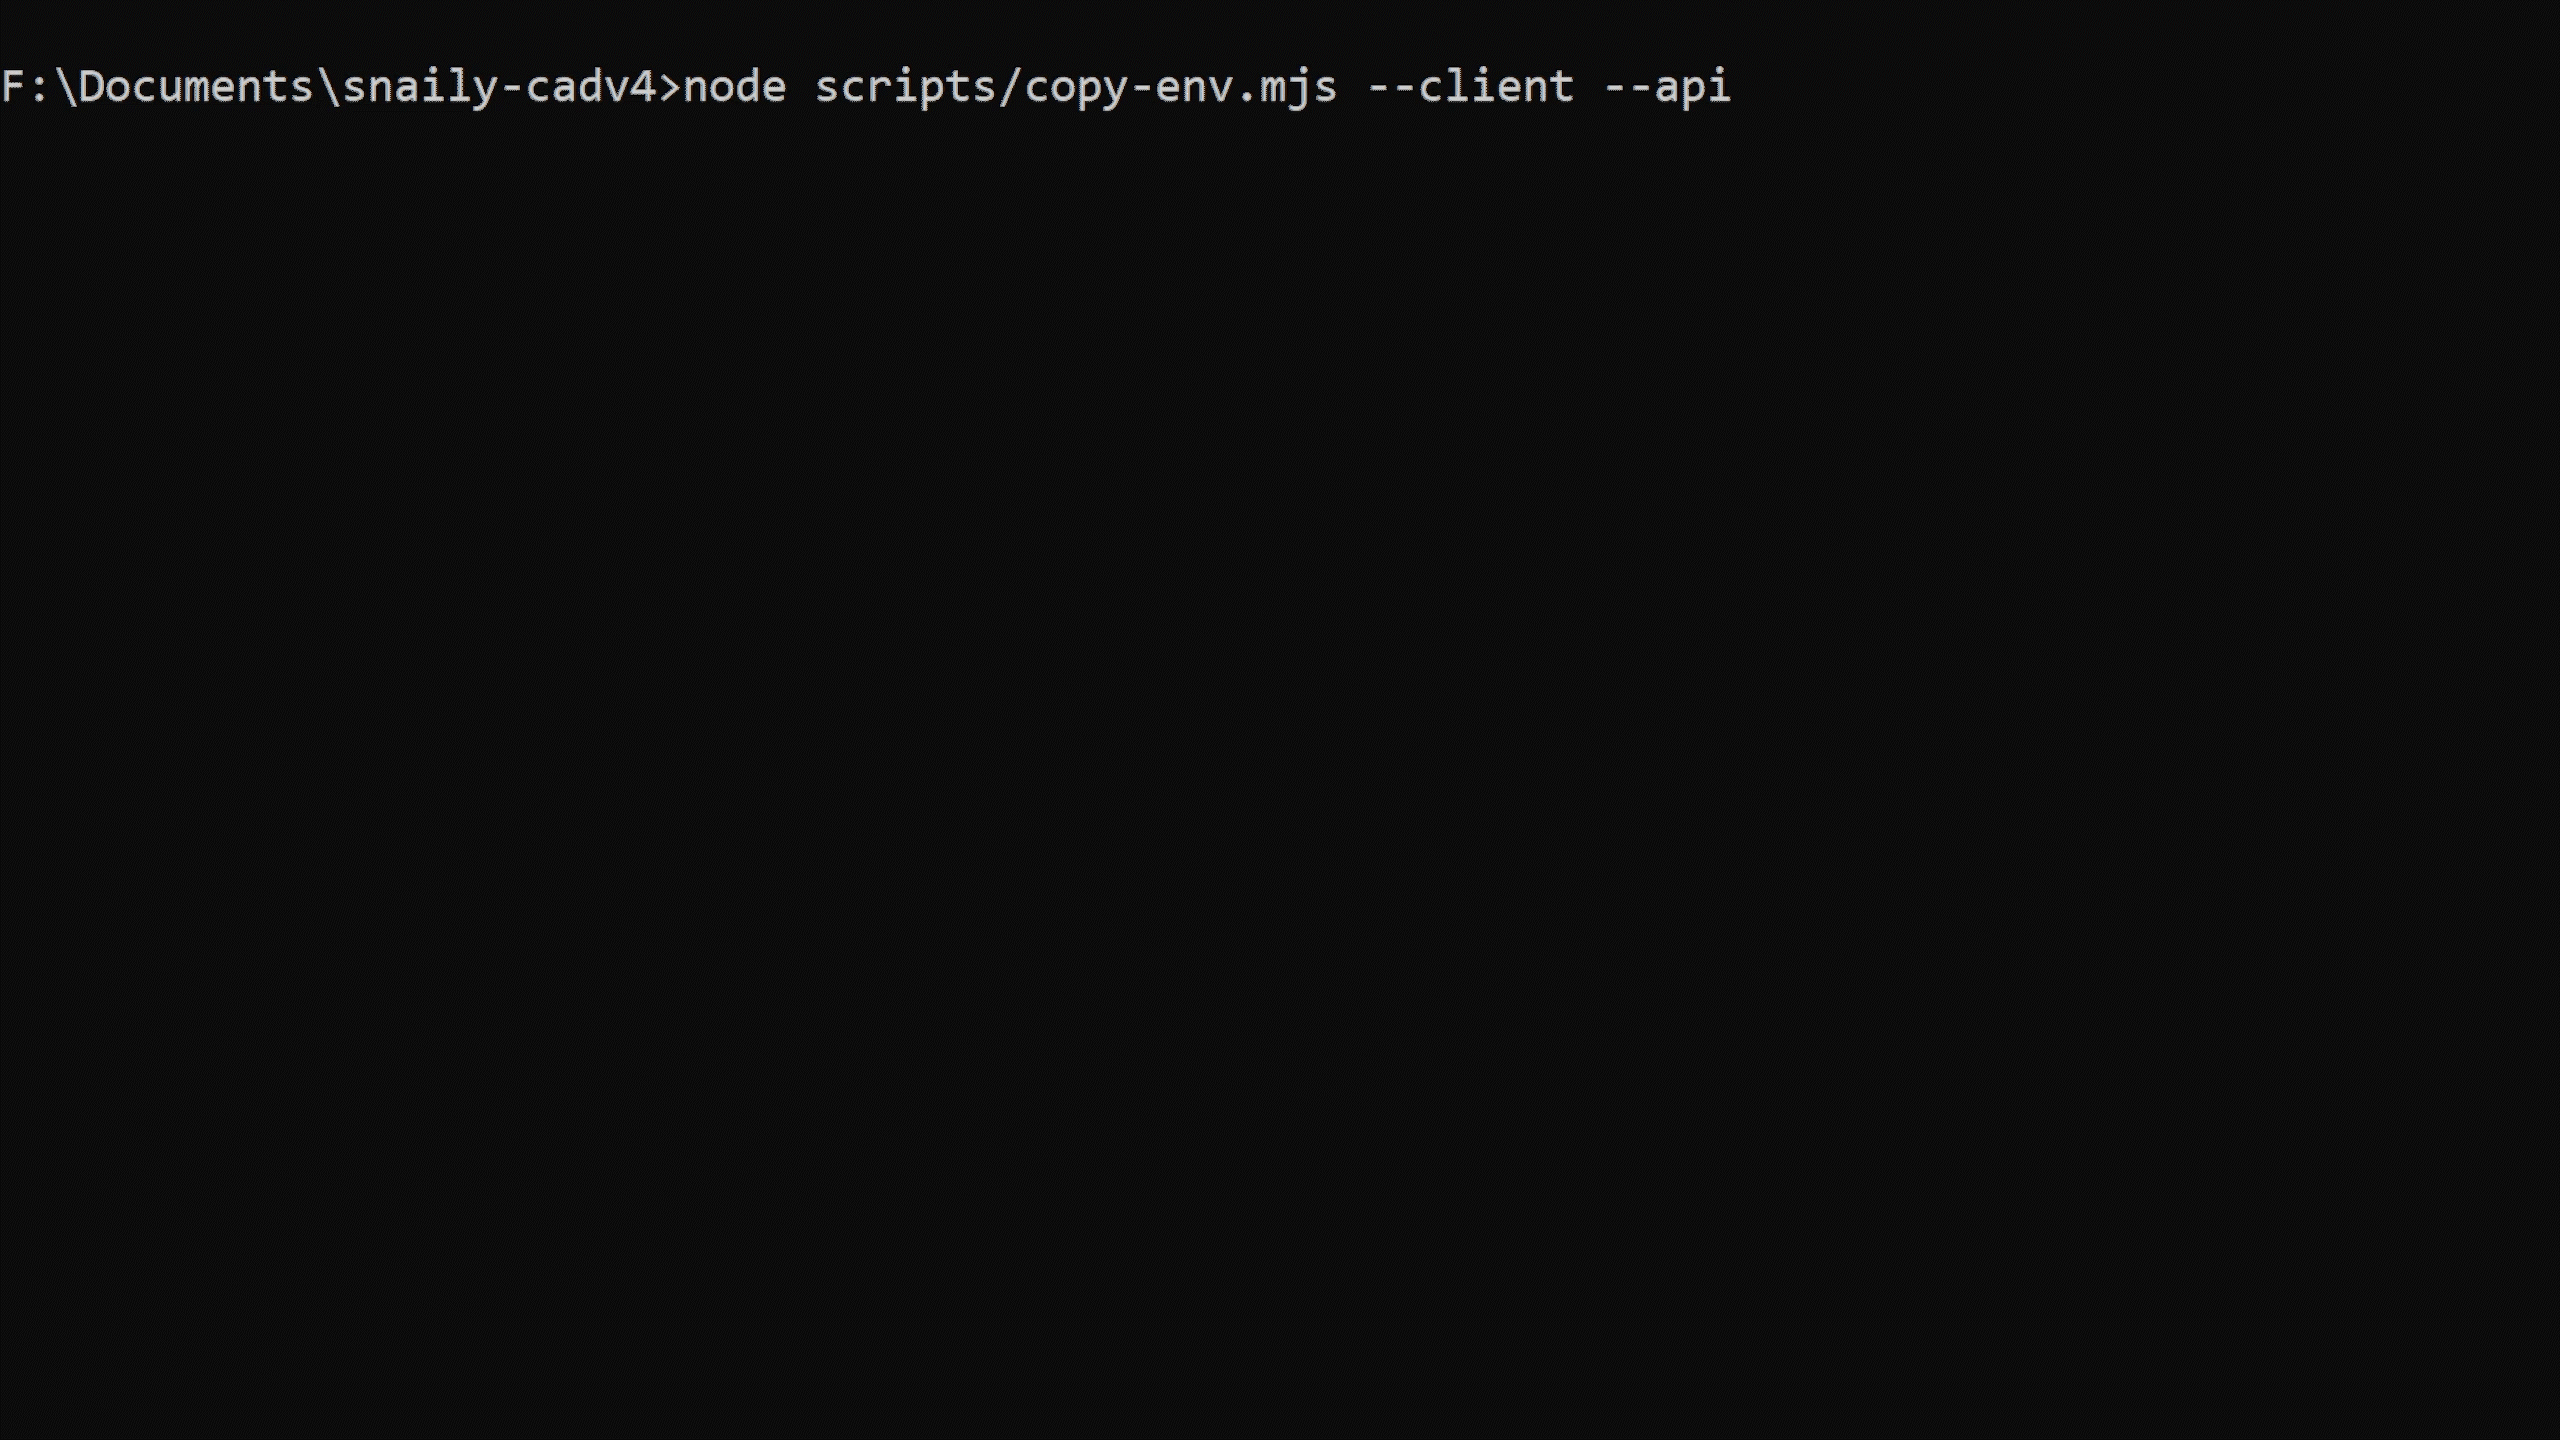
Once you've correctly configured all the variables, we must copy the .env file to the client and API:
Windows/Linux:
node scripts/copy-env.mjs --client --api
4. Building everything
Now we must build all the packages & apps. (client, schemas, config, types)
Note: this process might take 2 to 5minutes
pnpm run build
5. Starting SnailyCADv4
After completing all the steps above, we are ready to startup the CAD. To do this run the following command:
pnpm run start
To run SnailyCADv4 in the background, you can use PM2 instead of the command above.
6. Accessing SnailyCADv4
The ports set for the client and API must be forwarded in your firewall if you're not using some proxy.
Default ports:
- Client port:
3000 - API port:
8080 - Proxy ports:
443and80
You cannot use localhost to access SnailyCADv4. It will not work!
By default, you can access SnailyCADv4 via a web browser on your LAN IP and the PORT_CLIENT, example: http://192.168.92.20:3000. However, if you want to access SnailyCADv4 via a domain, you must setup a reverse proxy.
We have guides for NGINX, an Apache Guide can be found here.